Data Export and Import
Guide for admins to export and import data in SEKAR system.
What is Export & Import?
- Export — Take data from SEKAR to files (Excel, CSV, PDF)
- Import — Bring data from files into SEKAR
These features are useful for:
- Data backup & restore
- Data analysis in Excel
- Batch data updates
- Integration with other systems
Data Export
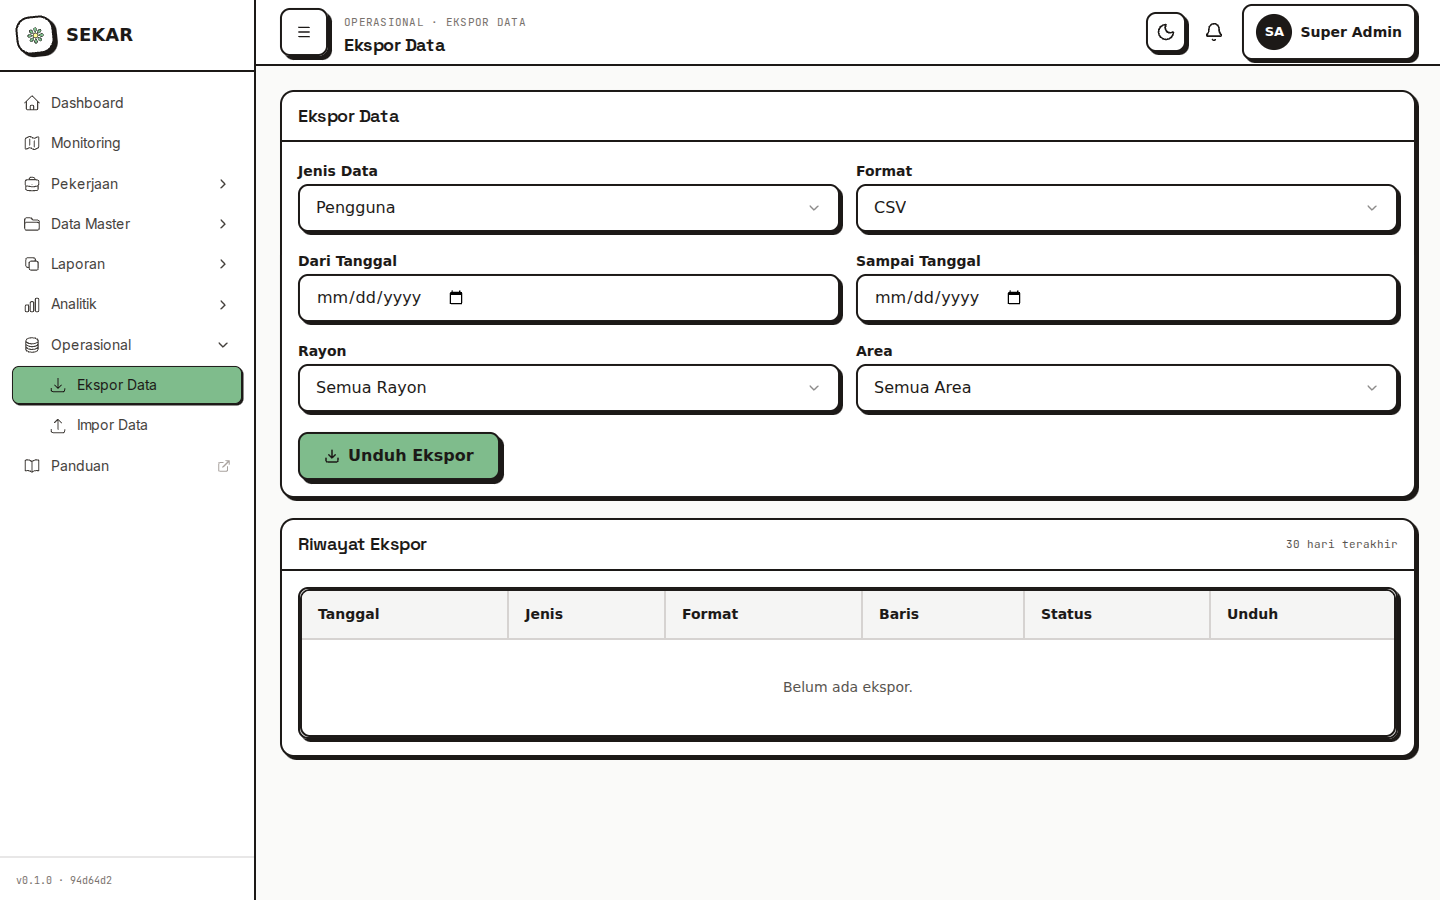
The data export interface for generating reports.
Opening Export Feature
- Web Dashboard → "Operational" menu
- Choose "Export Data" or "Export"
Data Types You Can Export
- Users — List of all users
- Reports — All activity reports
- Tasks — Task list
- Areas — Area master data
- Rayons — Rayon master data
- Plants — Plant catalogue (for phase 3+)
- Overtime — Worker overtime history
Export Form
┌──────────────────────────────────┐
│   EXPORT DATA                   │
├──────────────────────────────────┤
│ DATA TYPE *                     │
│ [Select: Activity Reports ▼]    │
│                                 │
│ PERIOD *                        │
│ From: [24/06/2026 ▼]           │
│ Until: [24/06/2026 ▼]          │
│                                 │
│ FORMAT *                        │
│ ○ Excel (.xlsx)                │
│ ○ CSV (.csv)                   │
│ ○ PDF (.pdf)                   │
│                                 │
│ FILTER (Optional)               │
│ [Role: All ▼]                  │
│ [Status: All ▼]                │
│ [Rayon: All ▼]                 │
│                                 │
│ [DOWNLOAD]  [CANCEL]            │
└──────────────────────────────────┘
Export Steps
- Choose Data Type — What to export
- Choose Period — Date range
- Choose Format:
- Excel — Make pivot table, filter in Excel
- CSV — For import to other systems
- PDF — For printing/official reports
- Filter (optional) — Export only specific data
- Download — File downloads to device
Example Excel Export Result
Activity Report - June 2026

Date      | Worker         | Activity              | Status    | Rating
──────────────────────────────────────────────────────────────────────
24/06/2026| Ahmad Rizki    | Clean Front Gate Area | Approved  | ⭐⭐⭐⭐⭐
24/06/2026| Budi Santoso   | Plant Maintenance     | Approved  | ⭐⭐⭐⭐
24/06/2026| Citra Dewi     | Repair Chair          | Rejected  | ⭐⭐
Data Import
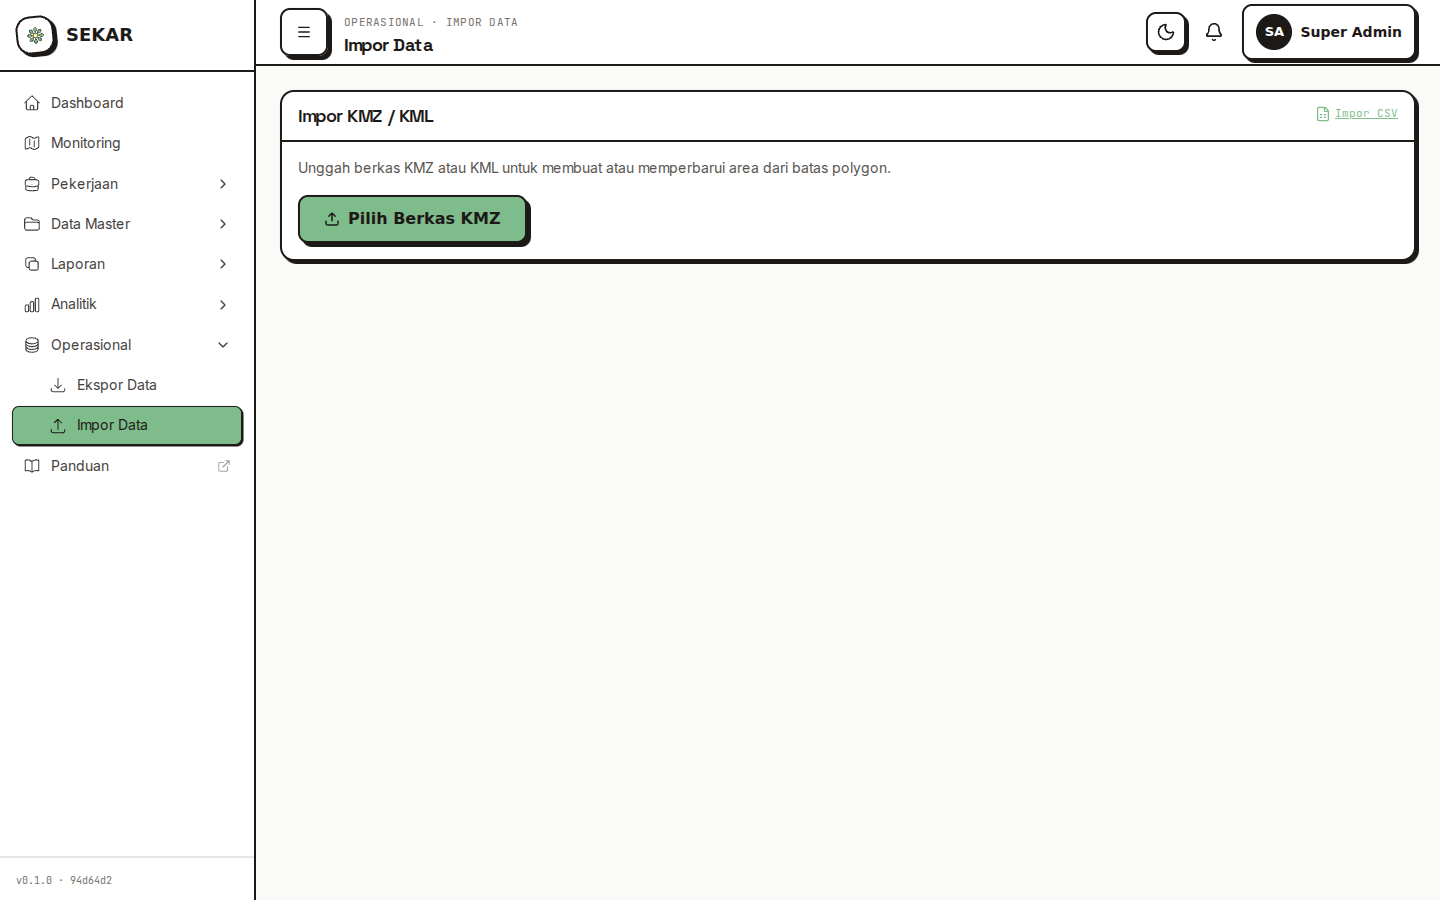
The data import interface for batch uploads.
Opening Import Feature
- Web Dashboard → "Operational" menu
- Choose "Import Data" or "Import"
Data Types You Can Import
- Users — Batch create new users
- Areas — Import area list from file
- KMZ — Import area boundaries from Google Earth (.kmz file)
Import Process
Step 1: Prepare File
File must be in correct format:
For Users (Excel/CSV):
Full Name    | Phone Number | Password | Role   | Rayon
──────────────────────────────────────────────────────
Ahmad Rizki  | 081234567890 | pwd123   | Satgas | Pusat
Budi Santoso | 081234567891 | pwd123   | Satgas | Pusat
Citra Dewi   | 081234567892 | pwd123   | Korlap | Pusat
For Areas (Excel/CSV):
Area Name    | Area Type | Rayon       | Size (m2)
───────────────────────────────────────────────────
Taman Bungkul| Park      | Taman Aktif | 25000
Parking Area | Parking   | Pusat       | 5000
Playground   | Playground| Pusat       | 3000
Step 2: Upload File
- Open "Import Data" page
- Choose data type to import
- Drag & drop file or click "Choose File"
- Select prepared Excel/CSV file
- Tap "Validate" or "Preview"
Step 3: Review & Validate
System will show preview:
VALIDATION - USERS (3 rows)

✓ Row 1 - Ahmad Rizki - Valid
✓ Row 2 - Budi Santoso - Valid
✗ Row 3 - Citra Dewi - Error: Phone number already registered

Total Valid: 2
Total Error: 1

Continue import 2 valid rows? [Yes]  [Cancel]
Step 4: Confirm Import
- Review validation results
- If errors, go back and edit file
- Tap "Yes, Continue Import"
- System will import data
- Import result report will show:
✓ Import CompleteTotal rows processed: 3Success: 2Failed: 1Successful data saved to system.Check log below for error details.
Backup & Restore
Backup Data
Some systems allow comprehensive backup:
- Dashboard → "Backup" or "System"
- Tap "Create Backup"
- System will backup all data:
- Users
- Reports
- Tasks
- Areas/Rayons
- Logs
- Backup file saved (usually cloud storage)
- You can download for local storage
Restore Data
If need to restore data:
- Contact System Admin — Restore is sensitive operation
- Admin will verify before restoring
- Restore will return data to specific point
warning
Backup is CRITICAL — Do backup regularly (minimum weekly).
KMZ Import (Area Boundaries)
Import Area Boundaries from Google Earth
To import area boundaries from KMZ file:
- Open "Import Data" → "KMZ/Shapefile"
- Prepare KMZ file from Google Earth
- Upload file
- System will parse boundaries
- Review and assign to areas in system
- Confirm to save
Troubleshooting Export & Import
"Export File Too Large"
Solution:
- Choose shorter period (ex: 1 month instead of 1 year)
- Export per data type separately (users, reports, tasks)
- Use filter to reduce data (ex: 1 rayon only)
"Import Failed, Many Errors"
Solution:
- Check file format (make sure Excel or CSV)
- Check column names match requirement
- Check no duplicate phone numbers
- Edit file, remove error rows
- Upload again
"Data Not Imported After Upload"
Causes:
- File not validated yet
- Validation errors exist
- Import not confirmed
Solutions:
- Make sure you tapped "Continue" after validation
- Check import result report
- Verify data exists in system
Best Practices
tip
1. Regular Backup
- Do backup minimum weekly
- Save backups in safe location (cloud/external drive)
2. Validate Before Import
- Don't import without review
- Check file in Excel first
- Validate results after import
3. Documentation
- Record when backups done
- Record important exports
- Maintain audit trail
4. Test Import
- If major data change, test in staging first
- Don't import direct to production
- Verify results before declaring success
Need export/import help? See FAQ & Help or contact system admin.